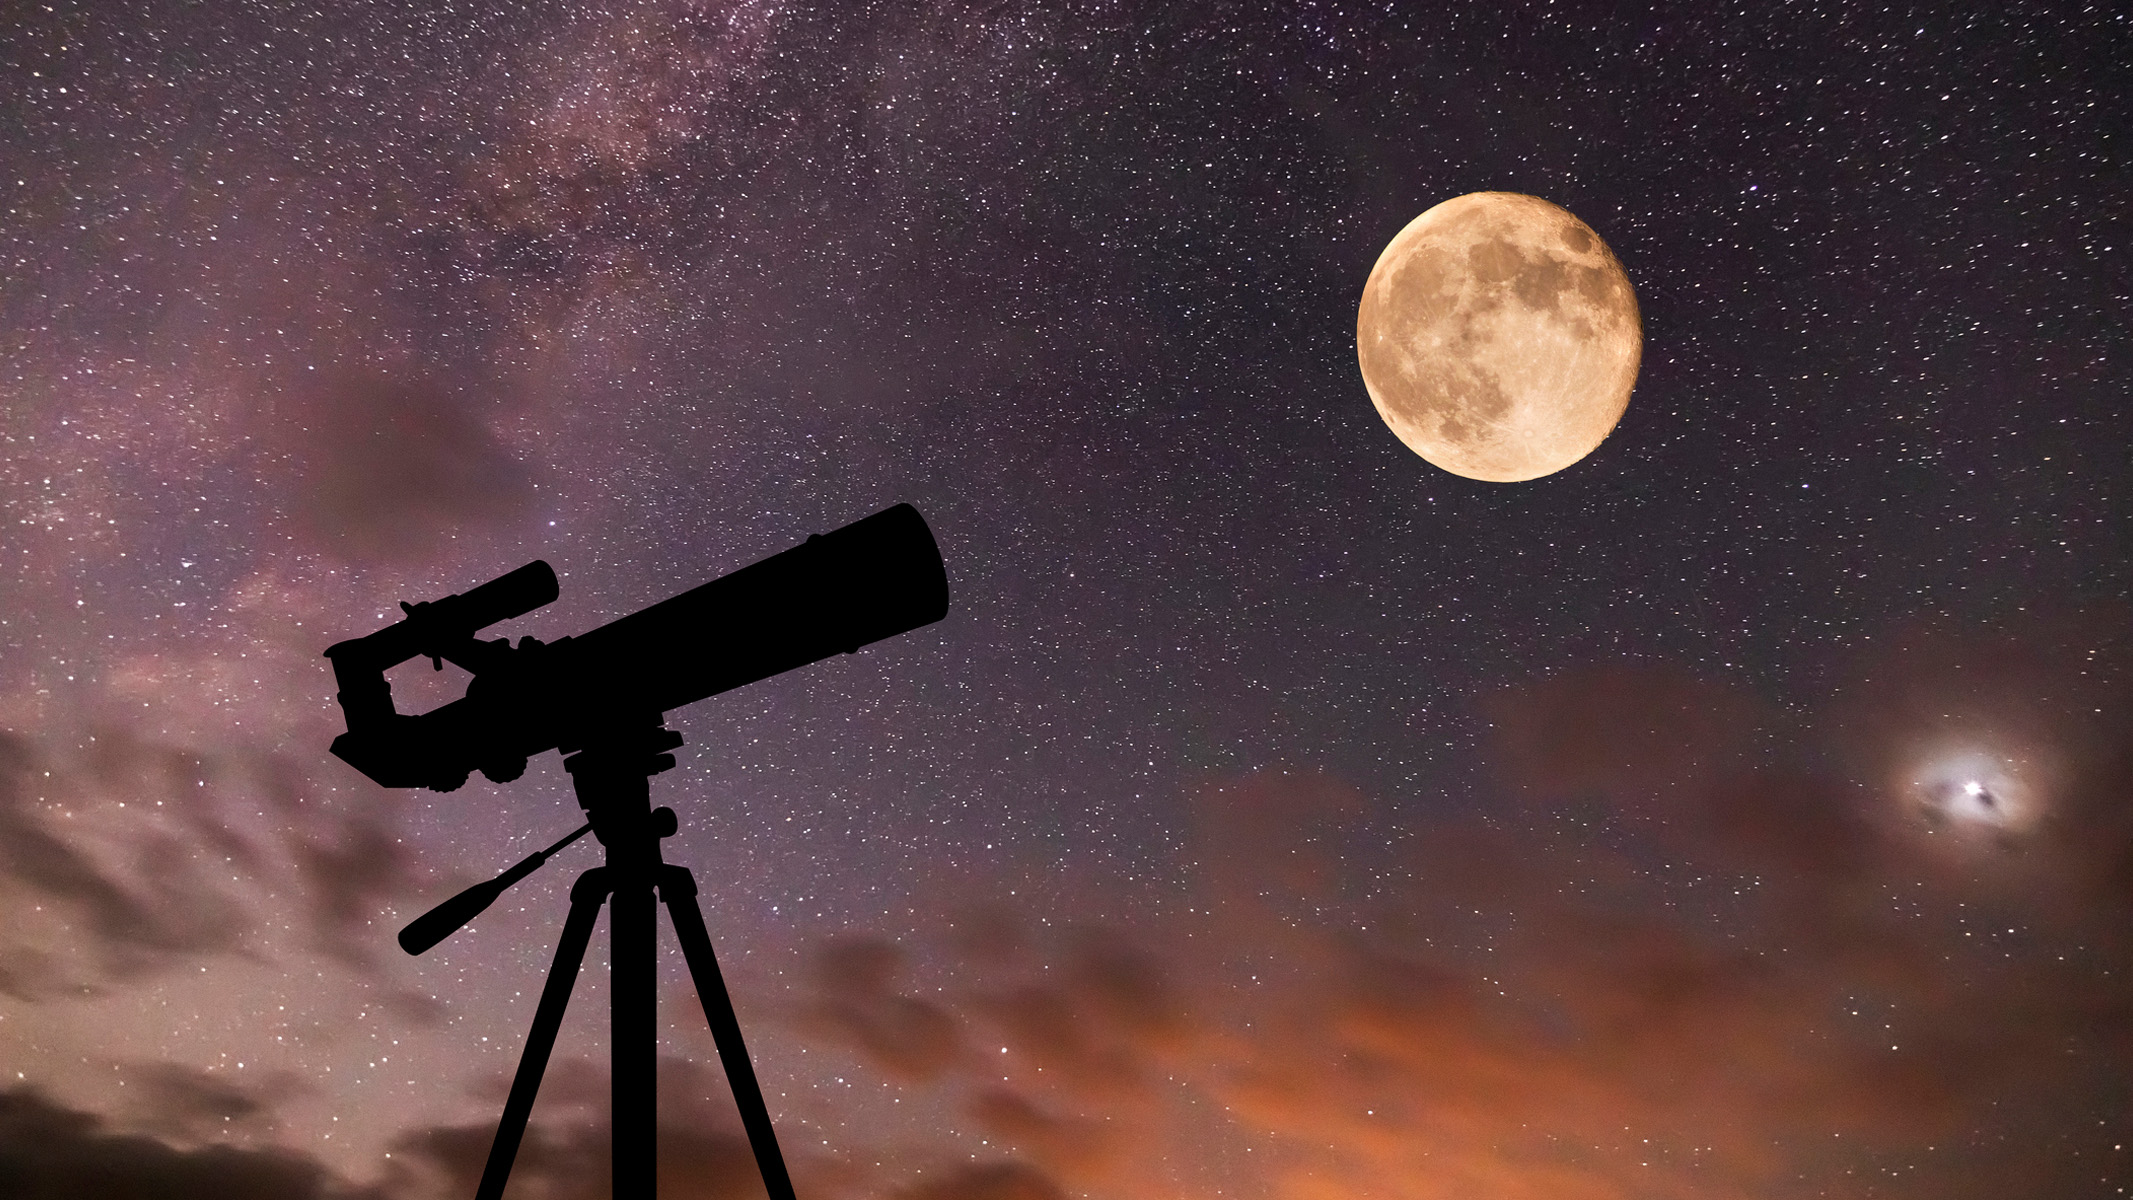
Building a DIY telescope was a fun and educational project that helped me understand how lenses work.I enjoyed assembling simple materials and seeing distant objects come into focus for the first time.The experience made astronomy feel more hands-on and inspired me to learn more about telescopes.
A DIY telescope is a homemade optical instrument designed to magnify distant objects using lenses or mirrors.It is a great project for beginners who want to explore astronomy while learning basic science principles.
Discover 7 amazing DIY telescope secrets and learn how to build an easy homemade telescope for better stargazing and astronomy adventures.
Why Building a DIY Telescope Beats Buying One Every Single Time:

There’s a version of this hobby where you drop $600 on a department store refractor, pull it out twice, and shove it in a closet. That’s not what a diy telescope builder does. When you grind your own mirror or source your own lenses, you develop an instinct for how light behaves that transforms your observing sessions forever.
Commercial telescopes are optimized for sales pages, not skies. They use thin mirrors with poor thermal stability, focusers that wobble, and mounts that vibrate at the slightest breeze. A diy telescope built with care — even from budget materials — can outperform a $400 commercial scope because you control every single variable.
The math is compelling too. A quality 6-inch primary mirror blank costs roughly $45 to $80 from suppliers like Newport Glass or Willmann-Bell. A commercial 6-inch Dobsonian runs $350 to $500. The gap funds your grinding tools, your secondary, and your eyepieces. You end up with more aperture per dollar than any retail option.
Aperture rules astronomy. A diy vtelescope with a 10-inch mirror gathers roughly 1,560% more light than the human eye. That’s not marketing language — that’s physics.
The Essential Tools and Materials for Your First DIY Telescope:

Before you touch a mirror blank, gather everything. A half-built diy telescope sitting on a workbench for months loses its momentum:
- Mirror blank and grinding tools: Pyrex blanks grind faster and cool faster than plate glass; start with a 6-inch f/8 for the most forgiving learning curve.
- Abrasive grits: Carborundum in 80, 120, 220, 320, 500, and 1000 grit, plus aluminum oxide for fine grinding and cerium oxide for polishing.
- Pitch lap: Made from pitch, turpentine, and beeswax; this is what actually polishes the mirror to optical precision.
- Foucault tester: You can build this for under $15 with a razor blade, a flashlight, and a cardboard box — it tells you exactly how spherical (then parabolic) your mirror surface is.
- Tube assembly: Sonotube concrete forms from Home Depot make excellent telescope tubes; a 12-inch diameter Sonotube runs about $18 for 6 feet.
Sourcing matters. Anchor Optics, Surplus Shed, and Agena Astro carry secondary mirrors, focusers, and eyepieces at prices that make a complete diyv telescope build surprisingly affordable.
Mirror Grinding: The Heart of Any Serious DIY Telescope:

The primary mirror is what separates a real diyv telescope from a toy. Everything else is structural support. The mirror collects light; the rest just holds it in the right place.
Mirror grinding intimidates beginners, but the actual technique is remarkably systematic. You’re not sculpting — you’re wearing glass down in a controlled, measurable way. The process breaks into three distinct phases: rough grinding to establish the curve, fine grinding to refine it, and polishing to achieve optical smoothness.
1: Rough Grinding Your Primary Mirror
Rough grinding establishes the spherical curve that determines your focal length. Place the mirror blank on top of the tool (another glass disc), add a tablespoon of 80-grit carborundum and enough water to make a slurry, then work the mirror using a “W” stroke pattern across the tool.
The key measurement is sagitta — the depth of the curve at the center of the mirror. For a 6-inch f/8 mirror, you need a sagitta of about 0.75mm. A simple spherometer (built from three bolts and a dial indicator) tracks this. Rough grinding typically takes 3 to 5 hours of active work.
2: Transitioning Through Fine Grinding Grits
Each successive grit removes the pits left by the previous, coarser abrasive. You know it’s time to move up when the mirror surface looks uniformly matte under a bright light — no deep scratches, no irregular patches.
The sequence 120 → 220 → 320 → 500 → 1000 → aluminum oxide feels tedious, but rushing it is the single biggest mistake first-time diy telescope builders make. A pit left behind from 220 grit will haunt you all the way through polishing and show up on a star test as a diffraction nightmare.
3: Polishing and Figuring to a Paraboloid
A polished sphere won’t produce sharp star images because it suffers from spherical aberration. You need to deepen the center of the mirror slightly — turning the sphere into a paraboloid. This is called “figuring.”
The Foucault test is your feedback mechanism. A perfectly figured mirror shows uniform shading across the entire surface when viewed at the center of curvature. Shadow patterns tell you exactly where to stroke, how long, and with what pressure. Many amateur diy telescope builders spend as many hours figuring as they do grinding.
Choosing the Right Optical Design for Your DIY Telescope:
Not every diy telescope uses a mirror. The optical design you choose shapes everything: tube length, cost, complexity, and what you can observe:
- Newtonian reflector: The classic beginner choice — parabolic primary, flat secondary, short tube, excellent aperture-to-cost ratio. Most diy telescope builders start here.
- Dobsonian: A Newtonian on a simple alt-az rocker box mount; can be scaled to massive apertures (16-inch, 20-inch) for deep-sky work.
- Refractor: Uses lenses instead of mirrors; achromatic doublets eliminate most chromatic aberration; harder to build from scratch but rewarding.
- Cassegrain variants: Folded optical path means a very short tube for a long focal length; requires more precise figuring but produces stunning planetary images.
- Binocular telescope: Two matched optical tubes on a parallelogram mount; the binocular view adds a sense of depth that single-eye observing never matches.
The Newtonian Dobsonian remains the most popular diy telescope design in the amateur community for a reason: it scales. A 10-inch f/4.7 Dobsonian built from Sonotube, Baltic birch plywood, and a quality mirror blank will outperform nearly any commercially available scope under $1,500.
Building the Tube Assembly and Mount for Your DIY Telescope:
Optics are only as good as the structure holding them. A mirror worth $200 is useless in a tube that flexes, shakes, or refuses to point where you aim it.
Tube and mount design for a diy telescope involves real engineering decisions — weight distribution, center of gravity, bearing friction, and balance. None of it requires an engineering degree, but all of it requires thought before you cut your first board.
1: Sizing and Cutting Your Telescope Tube
Sonotube selection depends on your mirror diameter. For a 6-inch mirror, a 7.25-inch inner diameter tube works well. For an 8-inch mirror, move to a 9-inch or 10-inch tube. Add 2 to 3 inches of clearance beyond the mirror diameter to prevent vignetting of the light path.
Tube length equals focal length plus some margin for focuser travel — typically 1 to 2 inches beyond the calculated focal point. For a 6-inch f/8 mirror, that’s a 48-inch focal length, plus focuser travel, so your tube runs 50 to 52 inches long. Mark it twice, cut once, then seal the inside with flat black spray paint to kill internal reflections.
2: Designing the Mirror Cell
The mirror cell holds the primary mirror at the bottom of the tube and allows precise tilt adjustment for collimation. A three-point flotation cell is the standard for mirrors up to 8 inches. Cut three equal sectors from a plywood disc, mount them on rubber pads to isolate the mirror from mechanical stress, and attach each sector to an adjustable bolt coming through the back plate.
For a diy telescope mirror cell, 18mm Baltic birch plywood is the right material — rigid, stable, and easy to work with standard woodworking tools.
3: Building the Rocker Box Dobsonian Mount
The Dobsonian mount has two pivots: altitude (up-down) and azimuth (rotation). The ground board sits on three furniture glides. The rocker box sits on the ground board and pivots on a central bolt. The telescope tube sits in the rocker box on two altitude bearings — typically large circles of plywood lined with Teflon strips that ride on laminate.
The Teflon-on-laminate bearing system is the genius of the Dobsonian design. It provides smooth, nearly frictionless movement with just enough resistance to hold the tube still once you’ve aimed. No motors required.
Secondary Mirror Sizing, Collimation, and Spider Design:
The secondary mirror in a Newtonian diy telescope reflects the converging light cone out through the focuser. Get the sizing wrong and you either vignette the field of view or introduce excessive central obstruction that degrades planetary contrast.
The formula for secondary minor axis diameter: secondary size = (focuser inner diameter × focuser-to-primary distance / focal length) + mirror diameter × (focuser-to-secondary distance / focal length). For a typical 6-inch f/8 with a 2-inch focuser, the secondary minor axis works out to about 1.52 inches — a standard size available from most optics suppliers.
- Spiders: Three-vane and four-vane spiders both work; curved vanes eliminate diffraction spikes but add complexity to your diy telescope build.
- Secondary holder: A simple turned wooden plug or a commercial holder both work; the key is allowing tilt adjustment in two axes.
- Collimation tools: A Cheshire eyepiece ($15 to $30) makes collimation dramatically faster than using a bare flashlight and your eye.
- Collimation frequency: Check collimation every session; even minor temperature changes shift the optics enough to matter.
- Aluminizing: Your finished mirror needs a reflective coating — most amateur builders ship mirrors to a coating service (like Spectrum Coatings) rather than attempting DIY aluminizing.
| DIY Telescope Design Comparison | |||||
| Design | Aperture Range | Focal Ratio | Build Complexity | Estimated Cost | Best For |
| Newtonian Reflector | 4″ – 12″ | f/5 – f/10 | Low–Medium | $80 – $350 | All-around observing |
| Dobsonian | 6″ – 24″ | f/4.5 – f/8 | Medium | $150 – $600 | Deep-sky, large aperture |
| Refractor (achromat) | 2.4″ – 5″ | f/8 – f/15 | Medium | $100 – $400 | Planets, Moon |
| Refractor (apochromat) | 2.4″ – 4″ | f/6 – f/9 | High | $300 – $800 | Planets, astrophotography |
| Cassegrain | 5″ – 10″ | f/10 – f/20 | High | $200 – $700 | Planets, compact travel use |
| Binocular Telescope | 4″ – 8″ (per eye) | f/5 – f/8 | High | $400 – $1,200 | Wide-field deep-sky |
| Truss Dobsonian | 12″ – 30″ | f/4 – f/5 | High | $500 – $2,000 | Extreme deep-sky aperture |
Eyepiece Selection for Maximum Performance from Your DIY Telescope:
The eyepiece is the last optical element in the chain. A mediocre eyepiece can make an excellent diy telescope perform like a toy. A quality eyepiece on a modest scope punches far above its weight class.
Magnification is not the primary goal. Astronomy beginners assume more power equals better views. Experienced observers know that exit pupil and field of view matter more than raw magnification for the majority of targets. Your diy telescope’s maximum useful magnification is roughly 50x per inch of aperture — around 300x for a 6-inch mirror — but most observing happens between 50x and 150x.
1: Understanding Exit Pupil and Eye Relief
Exit pupil equals aperture divided by magnification. An 8-inch telescope at 40x produces a 5mm exit pupil — well-matched to a dark-adapted eye. At 200x, the same scope gives a 1mm exit pupil, dimming the image dramatically.
Eye relief is the distance from the eyepiece lens to where your eye needs to sit to see the full field. Long eye relief (15mm or more) matters if you wear glasses during observing. Short eye relief (under 8mm) becomes uncomfortable during long observing sessions.
2: The Essential Eyepiece Kit for a DIY Telescope
A three-eyepiece kit covers 95% of diy telescope observing situations. Start with a low-power wide-field (32mm Plössl for a 2-inch focuser), a medium-power workhorse (15mm or 17mm Nagler-style), and a high-power planetary eyepiece (6mm or 9mm orthoscopic). Brands like Baader, Explore Scientific, and Tele Vue manufacture eyepieces that last a lifetime without optical compromise.
Astrophotography Adaptations for Your DIY Telescope:
A diy telescope built primarily for visual observing can be adapted for astrophotography with modest modifications, but the requirements are significantly different:
- Mount upgrade: Visual Dobsonians can’t track; astrophotography demands a motorized equatorial mount or at minimum a single-axis drive platform under your Dobsonian.
- Focuser: A standard rack-and-pinion focuser has too much play for camera use; replace it with a Crayford focuser with a tension adjustment screw.
- Focal reducer: An f/8 focal ratio is too slow for most camera sensors to capture faint nebulae; a 0.5x focal reducer drops you to f/4, cutting exposure times by 75%.
- Camera adapter: T-ring adapters and 1.25-inch or 2-inch nosepieces allow virtually any DSLR or mirrorless camera to attach to your diy telescope focuser.
- Vibration isolation: Pour a concrete pier for backyard use, or use a vibration suppression pad under your tripod; even footsteps can ruin a 30-second exposure.
Troubleshooting the Most Common DIY Telescope Problems:
Every diy telescope builder hits walls. The mirror test reveals an oblate surface. The focuser drags. Stars look like seagulls. These problems are all solvable, and working through them deepens your understanding of every system involved.
The single most misdiagnosed problem in any amateur diy telescope is collimation. Beginners assume their mirror is bad when the optics are simply misaligned. A star test on a well-collimated mirror with good optics shows concentric rings on both sides of focus — tight, symmetrical, almost perfect.
1: Diagnosing Optical Problems with a Star Test
The star test is performed by defocusing a bright star slightly inside and outside focus. Symmetrical ring patterns mean the optical system is functioning correctly. Asymmetrical patterns pointing in one direction indicate collimation error. A “turned edge” — where the outermost ring is brighter or thicker than expected — indicates a surface problem near the mirror’s edge that requires refiguring.
Coma (seagull-shaped stars) near the edge of the field is normal in fast focal ratio mirrors (f/4 to f/5). It becomes a serious problem if it appears on-axis or if your focal ratio is f/6 or slower.
2: Fixing Focuser Problems in a DIY Telescope
A dragging focuser usually results from misaligned drawtube-to-housing tolerances. Sand the drawtube lightly with 400-grit paper until it slides smoothly, then apply a thin coat of white lithium grease. A wobbling focuser is trickier — it usually means the rack-and-pinion mechanism is worn or the housing isn’t square to the tube. Replacing the focuser with a budget Crayford (around $30 from GSO) solves both problems permanently.
3: Dealing with Thermal Issues
Mirrors take time to cool to ambient temperature. A mirror pulled from a warm house and aimed at the sky will produce boiling, turbulent star images for 30 to 60 minutes while it equilibrates. Large mirrors (10 inches and above) may need 90 minutes or more. A 12V computer fan mounted to pull air across the back of the mirror dramatically speeds this up — a worthwhile modification for any serious diy telescope build.
Coating, Finishing, and Weather-Proofing Your DIY Telescope:
A beautiful diy telescope that deteriorates in storage or degrades in performance due to weather is a failure. Finishing matters as much as optics.
The tube exterior wants at least two coats of exterior-grade paint or spar varnish to handle dew and temperature swings. Inside the tube, flat black paint or flocked paper kills stray reflections. Flocking paper (adhesive-backed fabric with deep pile) from Protostar is a worthwhile upgrade for any serious diy telescope — it absorbs 99.5% of incident light at the wavelengths you care about.
Mirror coatings degrade over time. An aluminized mirror typically lasts 15 to 25 years before reflectivity drops noticeably. Enhanced aluminum coatings from services like Spectrum Coatings offer reflectivity above 94% across the visible spectrum. Protective overcoats of silicon monoxide add abrasion resistance and extend coating life by 5 to 10 years.
Store your diy telescope in a temperature-stable environment. The worst thing for optical components is cycling between hot and cold repeatedly. A garage with a stable intermediate temperature serves well. Cover the tube openings with cardboard or fitted caps to keep dust off the mirror surface.
Advanced DIY Telescope Projects for Experienced Builders:
Once you’ve built and used a basic Newtonian, the next tier of diy telescope projects opens up a significantly richer sky.
A truss-tube Dobsonian is the logical step up. The optical tube assembly is replaced by a skeletal truss of aluminum poles or wooden struts connecting the mirror box to the upper cage. The telescope disassembles into components that fit in a car trunk — critical for traveling to dark-sky sites with a 16-inch or 20-inch aperture instrument. Building a truss Dobsonian requires more precise tolerances, better hardware, and careful attention to flexure management, but the results are extraordinary.
Binocular telescopes represent a different challenge. Matching two optical paths precisely enough that your brain fuses them into a single image requires adjustable interpupillary distance, matched eyepiece heights, and careful alignment of both mirrors. When it works, the binocular view of star clusters and nebulae is unlike anything a single-eye instrument produces.
Digital setting circles turn your manual diy telescope into a go-to instrument without a motor drive. Two rotary encoders mounted to the altitude and azimuth axes feed position data to a phone app like SkySafari. The app tells you which direction to push the scope to put any of 90,000 objects in your eyepiece. A weekend project that transforms how you use your telescope.
The Community, Resources, and Next Steps for Your DIY Telescope Journey:
The diy telescope community is one of the most generous in any technical hobby. Experienced mirror makers post detailed logs of their projects. Forums like Cloudy Nights have dedicated threads where someone who built their first diy telescope forty years ago will spend an hour helping you diagnose a turned edge.
ATM (Amateur Telescope Making) clubs exist in most major US cities. Stellafane in Vermont is the world’s oldest ATM organization, running since 1926, and their annual convention attracts diy telescope builders from across the country to share projects, compare optics, and present new techniques.
Books remain valuable. Jean Texereau’s How to Make a Telescope, first published in 1957, is still the definitive reference for mirror making. Kriege and Berry’s The Dobsonian Telescope covers large aperture alt-az design with the rigor of an engineering text. Both are available from Willmann-Bell.
Online resources include Sky & Telescope’s ATM pages, the ATM section of Cloudy Nights, and YouTube channels from builders who document entire diy telescope projects from blank to first light. Watching someone navigate the Foucault tester and describe what they see in real time is worth hours of reading.
Your diy telescope doesn’t need to be perfect on the first attempt. Mine wasn’t. The second one was better. The third one showed me the Andromeda Galaxy’s dust lanes on a clear Montana November night, and at that moment, everything — the grinding sessions, the frustrating figuring work, the three failed collimation attempts — made complete sense.
FAQ’s:
Q1: What is the easiest diy telescope design for a complete beginner?
A 6-inch f/8 Newtonian Dobsonian is the most forgiving first diy telescope built in both optics and carpentry.
Q2: How long does it take to build a diy telescope from scratch?
Expect 60 to 100 hours total across mirror grinding, tube construction, and final assembly.
Q3: Can a diy telescope see planets clearly?
Yes — a well-figured 6-inch diy telescope mirror shows Saturn’s rings, Jupiter’s cloud bands, and Mars’s polar caps.
Q4: How much does a complete diy telescope build cost?
A functional 6-inch Dobsonian diy telescope can be completed for $150 to $300 in total materials.
Q5: Is a diy telescope better than a bought one?
For the same dollar amount, a carefully built diy telescope typically delivers more aperture and better optics than a commercial equivalent.
Conclusion:
A diy telescope project repays every hour you invest with genuine optical capability and deep understanding of the tools you’re using. Start with a 6-inch Newtonian, grind the mirror carefully, build the Dobsonian mount from Baltic birch plywood, and spend your first clear night pointed at Saturn. That view alone justifies the entire endeavor.