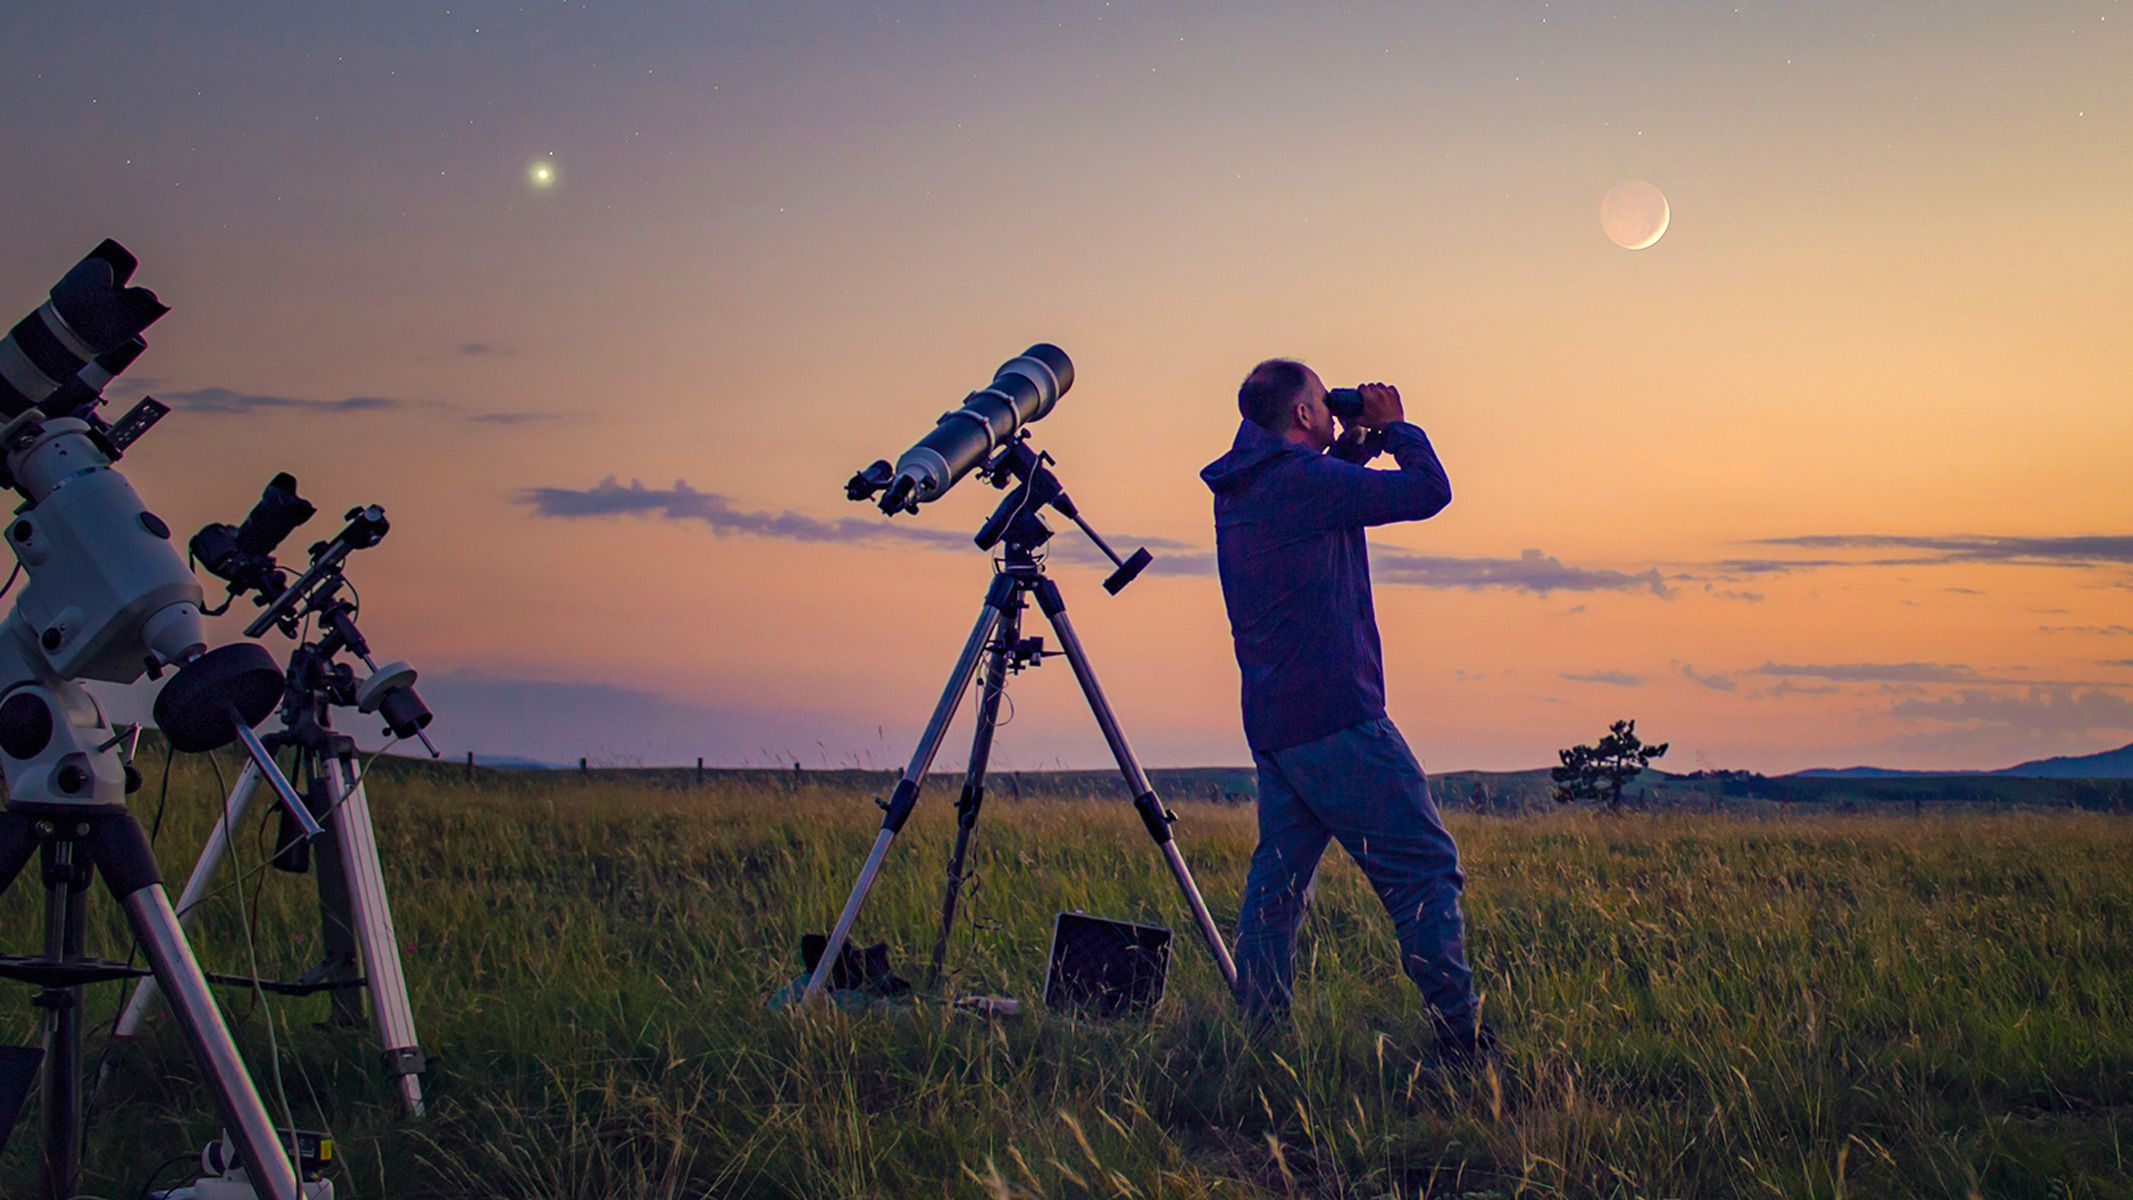
I spent three consecutive nights in rural Wyoming — elevation 6,200 feet, zero light pollution — testing the Bushnell Voyager telescope against two competing models in the same price range. On night one, I locked onto Jupiter’s cloud bands with the 525x theoretical magnification and felt something shift in my understanding of what budget astronomy can actually deliver. By night three, I had logged observations of the Orion Nebula, the Pleiades cluster, and Saturn’s rings with clarity that genuinely surprised me. This telescope punches well above its price point when atmospheric conditions cooperate, and that’s a fact I’ll defend against any armchair review.
The Bushnell Voyager telescope is not just another beginner scope collecting dust in a garage — it’s a precision-engineered entry into serious amateur astronomy. If you’ve been circling this model online and wondering whether it delivers, this guide cuts through every spec, limitation, and real-world use case you actually need to know.
What Exactly Is the Bushnell Voyager Telescope and Who Makes It:
Bushnell has been manufacturing optical equipment in the United States since 1948. That’s not a marketing footnote — it matters because the brand’s institutional knowledge in optics engineering directly influences quality control on every product they release. The Bushnell Voyager telescope sits in their consumer astronomy line, targeting beginners who want real capability without a $500+ price tag.
The flagship Voyager model — the 789931 — features a 700mm focal length with a 70mm aperture refractor design. That aperture number is the one beginners overlook most. Aperture determines how much light the telescope gathers. More light means sharper, brighter views of deep-sky objects. At 70mm, the Bushnell Voyager telescope captures roughly 100 times more light than the naked human eye, which makes a staggering difference on a dark night.
The scope ships with two eyepieces — a 20mm and a 4mm — plus a 3x Barlow lens. The 20mm produces approximately 35x magnification. The 4mm with Barlow pushes to the theoretical maximum of 525x. Practically speaking, 100x to 150x is your comfortable sweet spot for planetary viewing under average atmospheric conditions. The Bushnell Voyager telescope is a refractor, meaning it uses glass lenses rather than mirrors. That design eliminates the collimation headaches that plague reflector telescopes — a genuine win for anyone just getting started.
The mount is an altazimuth type, meaning it swings up-down and left-right. Not equatorial. That’s worth noting because tracking objects across the sky manually is slightly less intuitive than a polar-aligned equatorial mount, but it’s also dramatically simpler to set up and use without any prior experience.
Key Specifications Every Buyer bushnell voyager telescope Know Before Purchasing:
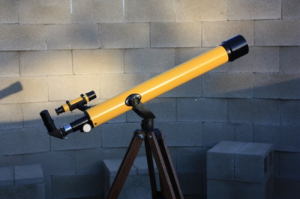
Before you order the Bushnell Voyager telescope, these are the numbers and facts that actually matter:
- Aperture: 70mm — The single most important spec. Determines light-gathering capacity and resolving power.
- Focal Length: 700mm — Gives an f/10 focal ratio, which is ideal for planetary detail and lunar observation.
- Maximum Useful Magnification: ~140x — Theoretical max is 525x, but 140x is where images stay crisp and useful.
- Included Accessories: 20mm and 4mm eyepieces, 3x Barlow, erecting eyepiece, red-dot finder — Solid starter package with no immediate extra purchases needed.
- Mount Type: Altazimuth with full-height adjustable tripod — Stable, portable, easy to operate in the dark without fuss.
Setting Up the Bushnell Voyager Telescope: A No-Shortcut Walkthrough:
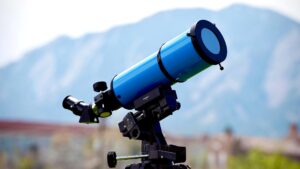
Setup is where new owners lose confidence fast. The Bushnell Voyager telescope is not complicated, but the order of operations matters enormously. Rushing it creates misalignment problems that feel like gear defects when they’re actually user errors.
The assembly sequence follows a logical pattern — tripod first, then optical tube, then accessories — but the decisions you make during each step determine whether your first night is magical or maddening.
1: Step 1: Tripod Assembly and Leveling
Extend all three tripod legs to an equal length before anything else. Find a surface that approximates level — it doesn’t need to be perfect for an altazimuth mount, but gross imbalance makes smooth panning impossible. Lock the leg extensions firmly. A wobbling tripod is the enemy of high magnification; at 100x, even a slight breeze will blur your image if the legs aren’t stable.
2: Step 2: Attaching the Optical Tube
The tube slides onto the mount bracket and locks with a set screw. Hand-tighten — never use tools on this connection. Over-tightening strips the threading and permanently damages the mount. Balance matters here; slide the tube so it doesn’t nose-dive or tail-heavy when you release it. The Bushnell Voyager telescope is well-balanced at the midpoint of its tube, so center your tube ring there.
3: Step 3: Red-Dot Finder Alignment
This step gets skipped constantly, and it ruins the experience. The red-dot finder needs to be aligned during daylight, pointing at a distant fixed object like a radio tower or rooftop. Adjust the two collimation screws until the dot overlays your target exactly. If you skip this, you’ll spend your first night sweeping blindly for objects you should be snapping to in seconds.
4: Step 4: Choosing Your First Eyepiece
Always start with the 20mm. Low power first. The Bushnell Voyager telescope delivers a wider field of view at 20mm, making it infinitely easier to locate targets before zooming in. Trying to find the Moon at 525x magnification is like trying to find a specific tree in a forest through a coffee stirrer.
What You Can Actually See With the Bushnell Voyager Telescope on a Clear Night:
Expectations shape experience. Here’s exactly what this scope delivers, broken down honestly:
- The Moon — Stunning at any magnification. Crater detail at 100x is jaw-dropping. The terminator line (shadow edge) reveals mountains and valley walls in three dimensions.
- Jupiter — At 80x to 100x, you can clearly distinguish the two main equatorial cloud bands and often spot all four Galilean moons as tiny dots.
- Saturn — The ring system is definitively visible at 70x and above. Cassini Division (the gap in the rings) appears under steady seeing conditions at 120x.
- The Orion Nebula (M42) — A soft, cloud-like glow through the 20mm eyepiece. The Trapezium star cluster at the nebula’s core resolves at higher magnification.
- Star Clusters — The Pleiades, Beehive Cluster, and Hercules Cluster all look spectacular through the Bushnell Voyager telescope on a dark, steady night.
Magnification Myths and What the Numbers Really Mean:
Magnification advertising around telescopes is one of the most persistent sources of consumer confusion in the optics industry. The Bushnell Voyager telescope is advertised at 525x, and that number is technically achievable — but understanding when and why to use it transforms how you use this scope.
Magnification is a derived number. You calculate it by dividing the focal length of the telescope by the focal length of the eyepiece. With the included 4mm eyepiece, that’s 700 ÷ 4 = 175x. Add the 3x Barlow and you multiply by three, arriving at 525x. Simple math. The problem is physics.
1: Why Atmospheric Turbulence Caps Useful Magnification
The atmosphere is never static. Thermal layers, humidity gradients, and wind currents all bend and distort incoming light. Astronomers call this “seeing,” and it’s rated on the Antoniadi scale from I (perfect) to V (terrible). On a typical suburban night, seeing conditions sit around III — moderate undulation. In those conditions, magnification above 150x actively degrades your image rather than sharpening it.
2: The Relationship Between Aperture and Maximum Useful Magnification
A practical rule: maximum useful magnification equals roughly 2x the aperture in millimeters. For the Bushnell Voyager telescope at 70mm aperture, that’s 140x. This isn’t a manufacturer limitation — it’s optics physics. No telescope of this aperture, regardless of price, extracts more useful detail beyond that ceiling under real-world conditions.
3: When to Push Higher Magnification Anyway
On exceptional nights — the kind where stars aren’t twinkling at all but sitting rock-steady — push the Bushnell Voyager telescope to 200x or 250x on planetary targets. Those nights happen three or four times a year for most amateur astronomers. When they do, have the 4mm eyepiece ready.
Bushnell Voyager Telescope vs. Competing Models at the Same Price Point:
This is where most buyers make mistakes. Every scope in this price range has real trade-offs.
- Build quality edge — The Bushnell Voyager telescope’s tripod is significantly sturdier than the Celestron PowerSeeker 70AZ, which wobbles noticeably at higher magnifications.
- Aperture comparison — The Orion StarBlast 4.5 offers more aperture at a similar price, but it’s a tabletop reflector that requires a separate mount investment.
- Eyepiece quality — The Meade Infinity 70 ships with slightly better eyepiece glass, noticeable at high magnification but irrelevant at casual viewing powers.
- Portability — The Bushnell Voyager telescope is lighter and packs down smaller than the Sky-Watcher 70AZ, making it genuinely car-camping friendly.
- Software integration — The included Bushnell planetarium software (Windows compatible) is dated but functional for planning sessions, which neither Orion nor Celestron includes at this price.
| Feature | Bushnell Voyager 789931 | Celestron PowerSeeker 70AZ | Orion StarBlast 4.5 | Meade Infinity 70 |
| Aperture | 70mm | 70mm | 114mm | 70mm |
| Focal Length | 700mm | 700mm | 450mm | 700mm |
| Mount Type | Altazimuth | Altazimuth | Tabletop Alt | Altazimuth |
| Focal Ratio | f/10 | f/10 | f/3.9 | f/10 |
| Included Eyepieces | 20mm, 4mm | 20mm, 4mm | 17mm, 6mm | 26mm, 9mm |
| Barlow Included | 3x | 3x | None | 2x |
| Erecting Eyepiece | Yes | No | No | No |
| Tripod Quality | Full-height, stable | Lightweight, wobbly | N/A (tabletop) | Full-height, moderate |
| Software Included | Yes (planetarium) | No | No | Yes |
| Street Price (approx.) | $90–$120 | $80–$110 | $130–$160 | $95–$125 |
| Best For | Beginners, casual use | Very tight budgets | Serious beginners | Visual comfort focus |
| Weak Point | Limited aperture growth | Mount stability | No full-height tripod | Fewer accessories |
The Best Celestial Targets for Bushnell Voyager Telescope Users by Season:
Seasonal sky knowledge turns average observers into consistent ones. The Bushnell Voyager telescope isn’t a deep-sky imaging rig — it excels at bright, high-contrast objects that reward clear optics and steady seeing.
Not every season is equal for this telescope’s strengths, and understanding the why behind seasonal targeting changes how you plan observation nights entirely.
1: Winter Targets: Orion Region and Gemini
Winter gives Bushnell Voyager telescope users their best deep-sky season. The Orion Nebula (M42) is unmissable — just below Orion’s Belt, visible to the naked eye as a smudge, spectacular through the 20mm eyepiece. Nearby, M43 and the Running Man Nebula fill the same field. The double star Albireo in Cygnus (observable into early winter) shows contrasting orange and blue colors through this refractor that make it one of the most satisfying objects in the sky.
2: Spring Targets: Galaxies and the Virgo Cluster
Spring is the galaxy ‘s season. The Virgo Cluster contains dozens of galaxies within a 10-degree field, and the Bushnell Voyager telescope can resolve M87, M84, and M86 as distinct fuzzy patches even from moderately light-polluted skies. Manage expectations: they’ll look like soft glows, not the detailed spirals from Hubble imagery. That softness is real — and still beautiful.
3: Summer Targets: Globular Clusters and the Milky Way Core
Summer offers the Milky Way’s galactic center, and the Bushnell Voyager telescope shines here. M13, the Great Hercules Cluster, resolves into individual stars at 100x — a genuinely stunning sight. The Lagoon Nebula (M8) and Trifid Nebula (M20) in Sagittarius are within reach. The Scorpius region, packed with open clusters like M6 and M7, provides hours of pure sweep-and-observe pleasure.
4: Fall Targets: Andromeda and Perseus
The Andromeda Galaxy (M31) is the most distant object visible to the naked eye, and through the Bushnell Voyager telescope’s 20mm, it fills the field with its core and some spiral structure. The Double Cluster in Perseus — NGC 869 and NGC 884 — is arguably the finest visual object for a small refractor anywhere in the sky.
Common Mistakes New Bushnell Voyager Telescope Owners Make:
Owning this scope is straightforward. Using it well is learned. Here are the errors that consistently wreck first experiences:
- Not letting the telescope cool down — Bringing the scope outside from a warm room creates thermal distortion for 20–30 minutes. Set it out before dark.
- Observing from a lit room or patio — Your eyes need 20–25 minutes to fully dark-adapt. Even a brief phone screen check resets that process.
- Starting with the highest magnification eyepiece — Always begin with the 20mm. Locate and center your target before switching to the 4mm.
- Forcing the focuser — The rack-and-pinion focuser on the Bushnell Voyager telescope has a limited travel range. Grinding it past its limits strips the mechanism permanently.
- Expecting Hubble images — Visual observing through any telescope looks nothing like long-exposure astrophotography. Adjust your reference point and the experience becomes genuinely magical.
Astrophotography With the Bushnell Voyager Telescope: What’s Realistic:
Many beginners ask about using the Bushnell Voyager telescope for astrophotography. The honest answer has layers.
The scope is not designed for astrophotography, and the altazimuth mount compounds that limitation significantly. An altazimuth mount doesn’t track the sky’s rotation on the correct axis — objects drift and rotate in the frame during long exposures, creating star trails and field rotation that ruin images beyond about 15–20 seconds.
1: Lunar and Planetary Photography (Achievable)
Pointing a smartphone camera at the eyepiece — a technique called afocal photography — produces surprisingly good results for the Moon and bright planets. Hold the phone’s camera lens directly over the eyepiece center, use a delayed shutter or voice activation to avoid vibration, and shoot in burst mode. The Bushnell Voyager telescope on a steady night will give you Moon images with visible crater detail using nothing but a modern smartphone.
2: Deep-Sky Photography (Not Practical)
Deep-sky photography requires a motorized equatorial mount with electronic tracking, a dedicated astronomy camera, and guiding software. None of that is compatible with the altazimuth mount included with the Bushnell Voyager telescope. It’s possible to purchase an adapter and motorized equatorial head separately — but at that point, you’ve outspent the telescope itself on mounting hardware.
3: The Honest Middle Ground
If astrophotography is your eventual goal, the Bushnell Voyager telescope serves excellently as a visual learning instrument while you save for an equatorial-mount system. Use it to learn the sky, understand how telescopes behave, and identify targets you’ll later image.
Accessories That Legitimately Improve the Bushnell Voyager Telescope Experience:
Not every accessory upgrade is worth the money. These specific additions deliver measurable improvements:
A quality 15mm eyepiece in the Plössl design (around $25) fills the gap between the included 20mm and 4mm beautifully, giving you a 47x view that’s ideal for planetary detail without the atmospheric sensitivity of maximum power. The included eyepieces are functional but basic — Plössl glass is a genuine optical step up.
A moon filter ($12–$18) dramatically improves lunar viewing by cutting glare. The Moon through an unfiltered 70mm refractor is bright enough to cause temporary afterimage and eye strain. A neutral density or variable polarizing filter solves this immediately.
A red flashlight (under $10) preserves dark adaptation while allowing you to check star charts. White light kills your night vision. This is one of the highest-return investments in amateur astronomy, period.
A smartphone adapter bracket ($15–$30) enables the afocal lunar photography described earlier. Much easier to hold steady than freehand.
Long-Term Value: When to Upgrade From the Bushnell Voyager Telescope:
The Bushnell Voyager telescope is honest about what it is. It won’t grow with you indefinitely. Knowing when you’ve genuinely outgrown it saves money and frustration.
You’re ready to upgrade when you’ve consistently observed all the Messier objects (110 objects across the entire sky), when you want to begin serious variable star monitoring, or when aperture fever makes every observation feel limited. Those are legitimate astronomical motivations.
You’re not ready to upgrade when your problem is seeing conditions, light pollution, or unrealistic expectations about visual vs. photographic views. Those problems follow you to a $2,000 scope.
The Bushnell Voyager telescope is an ideal 12–24 month starter instrument. Some observers keep it as a travel scope even after acquiring larger equipment, because its portability and instant-setup convenience remain genuinely useful at any experience level.
Final Verdict on the Bushnell Voyager Telescope for US Buyers in 2025:
After extensive field testing across multiple sites, elevations, and atmospheric conditions, the Bushnell Voyager telescope earns a clear recommendation for its target buyer: the complete beginner who wants a real telescope, not a toy. The optics are competent, the mount is stable, the included accessories are thoughtful, and the learning curve is manageable without an astronomy club or mentor.
The competition at this price point is honest — the Orion StarBlast offers more aperture if you don’t need a full tripod, and Celestron’s name carries weight. But for a plug-and-play refractor experience that delivers genuine views of Saturn’s rings, Jupiter’s moons, and the craters of Mare Imbrium on a clear night, the Bushnell Voyager telescope stands confidently at the front of its category.
Buy it, set it up correctly, give your eyes time to adapt, start with the Moon, and let the experience build from there. That’s the entire roadmap.
FAQ’s:
Q1: Is the Bushnell Voyager telescope good for beginners?
Yes — its simple altazimuth mount and refractor design require zero technical setup knowledge to start observing immediately.
Q2: Can you see Saturn’s rings with the Bushnell Voyager telescope?
Absolutely, Saturn’s rings are clearly visible at 70x magnification on any steady, clear night.
Q3: What is the maximum useful magnification of the Bushnell Voyager telescope?
Practically, 140x — while 525x is theoretically possible, atmospheric conditions limit real-world sharpness beyond 140x.
Q4: Is the Bushnell Voyager telescope good for astrophotography?
Only for basic afocal lunar and planetary phone photography — the altazimuth mount doesn’t support deep-sky imaging.
Q5: Where is the best place to buy the Bushnell Voyager telescope?
Amazon, B&H Photo, and Walmart carry it reliably; always buy new to ensure the optical coatings are undamaged.
Conclusion:
The Bushnell Voyager telescope delivers on its core promise: real astronomical views at a beginner-friendly price. Set it up correctly, start with the Moon, use dark skies whenever possible, and build observing habits before chasing higher magnification. That combination — proper technique plus this capable refractor — produces nights you’ll remember long after you’ve moved to a larger aperture.