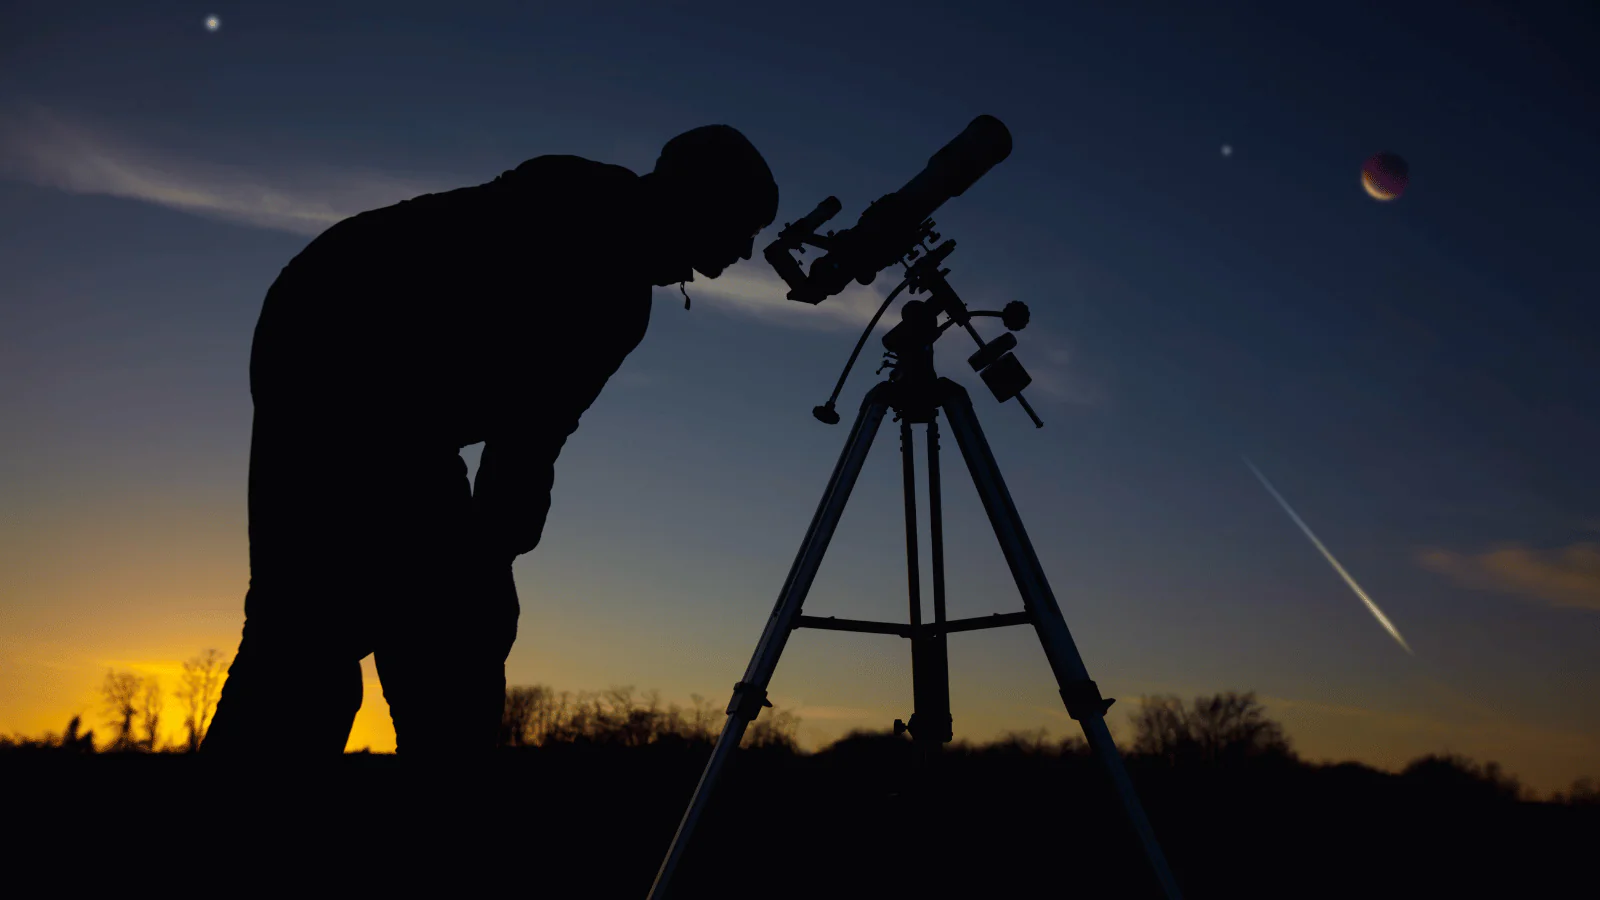
The first time I seriously taught someone how to use a telescope, it was my neighbor’s teenage son on a November night in rural Pennsylvania — a boy who’d received a Celestron 70mm refractor for his birthday and assumed it was broken because he’d never seen anything through it but blurry white smears. In forty minutes, starting with daytime alignment on a distant billboard, we had him tracking Jupiter at 120x with the Great Red Spot centered in the field. The look on his face when the moons snapped into focus — four perfect points of light arranged symmetrically around that ochre disk — is precisely why knowing how to use a telescope properly matters as much as choosing the right one.
Learning how to use a telescope correctly is the difference between a lifetime hobby and an expensive piece of equipment gathering dust in a closet. The techniques are learnable in a single evening — if someone shows you the right sequence.
Learn how to use a telescope with this easy and ultimate beginner guide. Follow 7 simple steps to set up, focus, and enjoy amazing views of planets, stars, and the night sky.
Set Up Before Dark: The how to use a telescope Everyone Skips:
Here is the single most impactful piece of advice for anyone learning how to use a telescope: never take the instrument outside for the first time after sunset.
Daytime setup is the non-negotiable foundation of how to use a telescope well — every experienced astronomer who learned how to use a telescope properly started by ignoring this rule and then reversing course after a painful first night. Start with the mount. If it’s a tripod-based system, extend the legs to a height that places the eyepiece at comfortable eye level during observing — you should never be bent over at the waist looking down into an eyepiece. Get the tripod level using a spirit level or the mount’s built-in bubble level. An unlevel mount produces tracking that drifts in a spiral rather than a straight line, and polar alignment becomes impossible.
Install the finder scope — the small wide-field guide scope mounted on the side of the main tube — and align it on a terrestrial target at least 300 meters away. A telephone pole, a distant chimney, a window frame: pick a sharp-edged distant object, center it in the main telescope at low power, then adjust the finder scope’s alignment screws until that same object appears at the center of the finder’s crosshairs. This is how to use a telescope finder scope correctly, and it costs you twenty minutes in daylight that saves forty minutes of confused searching after dark.
Understanding Your how to use a telescope Before Pointing at the Sky:
Skipping the manual is a tradition among astronomers. Don’t. Fifteen minutes with the documentation tells you things that could take six frustrating nights to discover by accident.
Here’s what you need to confirm before your first observing session:
- Focuser type and travel range: rack-and-pinion focusers have limited travel; Crayford focusers have adjustable tension to prevent slipping under heavy eyepiece weight; know which yours is and how to adjust the tension screw before an eyepiece slips and hits a mirror
- Diagonal orientation: refractors and catadioptric telescopes use a star diagonal that redirects the optical path 90° for comfortable viewing; confirm it’s installed and seated fully before inserting an eyepiece, otherwise you’ll be staring into a closed optical path and assuming the telescope is defective
- Finder scope magnification and field: most finder scopes show an erect or reversed image with 5–8x magnification and a 5–7° field; understanding the relationship between what you see in the finder and what appears in the main eyepiece is foundational to how to use a telescope for star-hopping
- Eyepiece barrel size: most modern eyepieces use 1.25-inch barrels; some premium wide-field eyepieces require a 2-inch focuser; confirm your focuser accepts the eyepieces you own before purchasing additional glass
- Mount limits and motions: equatorial mounts have a meridian flip limit where tracking stops if a tube reaches the mount’s physical limit of motion; knowing this limit prevents tracking failures mid-session
Dark Adaptation: The how to use a telescope Requirement Nobody Mentions:
Learning how to use a telescope isn’t purely about the instrument. It’s partly about the eye behind the eyepiece — and the eye requires preparation that takes time and cannot be rushed.
The human eye adapted to darkness through two mechanisms: pupil dilation, which takes 5–10 minutes and widens the pupil from 2mm in bright light to 6–7mm in full darkness; and rhodopsin regeneration, which takes 20–30 minutes and increases retinal sensitivity by a factor of roughly 100,000. Both processes are photoreversible — a single flash of white light resets them and restarts the clock.
1: Why Red Light Is the Correct Choice
Red light — specifically wavelengths above 620nm — has minimal impact on rhodopsin regeneration because rhodopsin’s peak sensitivity is in the blue-green spectrum. A red LED flashlight or a flashlight with a red filter preserves the dark adaptation you’ve spent 30 minutes building, allowing you to read star charts, adjust eyepieces, and navigate safely without destroying your night vision.
Use only red light during observing sessions. Keep your phone screen off or set to the dimmest red-display mode available. If someone arrives with a white flashlight, politely but firmly redirect them toward the red light protocol. How to use a telescope effectively at night is inseparable from how to manage the human visual system’s adaptation requirements.
2: Reading Star Charts Under Red Light
Paper star charts work better than most apps during active observing because they don’t require looking at a bright screen and destroying dark adaptation. Stellarium (desktop) and SkySafari (mobile) offer full red-mode displays that are acceptable alternatives if configured correctly before going outside. Print your charts at home in daylight, mark your planned targets, and orient the chart toward the sky before darkness so you’re not relearning north-south-east-west at the telescope.
3: Avoiding Common Light Pollution From Neighbors and Traffic
Suburban observing means contending with car headlights, porch lights, and the ambient sky glow that lifts the background brightness and reduces the contrast of faint objects. Shield your eyes with your hand or a piece of dark cloth during car passages. Position yourself with a building, fence, or tree blocking direct streetlight. Even moderate shielding improves dark adaptation noticeably over an unshielded position.
Starting With Low Power: The Cardinal Rule of How to Use a Telescope:
Every skilled observer, every time, starts at the lowest available magnification. This is the rule that separates people who regularly find objects from people who regularly fail to find objects. Understanding how to use a telescope at low power first is so foundational that it applies every single session, even after years of experience.
- Lowest power equals widest field: a 25mm or 32mm eyepiece in most telescopes gives 1–2° of sky — enough to fit four full Moons side by side, making object location dramatically easier than a narrow high-power field
- Lowest power equals brightest image: magnification spreads light over a larger retinal area, reducing surface brightness; at low power, objects are easier to detect because they’re brighter relative to the background sky
- Low power reveals the landscape: at 40x, you see enough surrounding star field to orient yourself relative to the star chart, confirming you’re looking at the right region before switching to a higher-power eyepiece
- Center before magnifying: the golden rule of how to use a telescope for any target — get it centered at low power, confirm it’s the right object, then increase magnification if detail demands it
- High power is for confirmed targets only: go to 200x on an object you’ve already identified and centered at 50x; going straight to 200x on an unknown region of sky is how objects disappear into the vast empty space between stars at narrow fields of view
Star-Hopping: How to Use a Telescope Without GoTo Technology:
Computerized GoTo mounts find targets automatically after alignment. Manual mounts require you to navigate the sky yourself — and the skill of star-hopping, once learned, makes you a far more fluent observer than someone who relies entirely on software.
Star-hopping means using a chain of recognizable stars as navigation waypoints, moving from a bright, easily-identified star toward your target through a series of shorter hops, each visible in the finder scope’s field. The technique requires a star chart, a finder scope, and patience — but it builds a genuine mental map of the sky that deepens with every session.
1: Choosing Your Starting Point
A good star-hopping starting point is a bright naked-eye star near your target — ideally within 10° and easily identifiable by the pattern of surrounding stars. For locating the Andromeda Galaxy (M31), the standard starting chain begins at the Great Square of Pegasus and hops through a distinctive right-angle pattern of stars visible in the finder. For finding the Orion Nebula (M42), the starting point is Orion’s Belt — three aligned stars of nearly equal brightness that any beginner finds immediately.
2: Reading Your Finder Scope Field
The finder scope reverses the image east-west compared to a star chart unless it includes a correct-image prism. Know which way your finder inverts before attempting to match a chart pattern in the finder field. How to use a telescope finder scope correctly means mentally flipping the chart if necessary — or printing a mirror-image version of your chart for use with a standard inverting finder.
3: Estimating Angular Distances in the Finder
The finder scope’s full field of view is typically 5–7 degrees. Your extended fist at arm’s length covers roughly 10 degrees. Two finder-scope field widths approximate one fist-width. Building a feel for angular distances — how many finder fields between two stars — lets you navigate the sky without measuring angles precisely, developing a fluency that makes star-hopping progressively faster with each session.
4: When Star-Hopping Fails and What to Do Instead
Star-hopping fails when the target is too faint to confirm in the finder, when the surrounding star field has no distinctive patterns, or when your chart’s scale doesn’t match the finder’s field of view. In these cases, use the setting circles on an equatorial mount (right ascension and declination coordinates) to navigate by numbers rather than patterns. Input the target’s coordinates from a catalog, dial them in, and look. This mechanical approach to how to use a telescope navigation is slower but reliable for targets in featureless star fields.
Focusing Precisely: The Skill That Determines Image Quality:
Precise focusing separates crisp, usable planetary images from blurry disks that look like the telescope is defective. Focusing correctly is learnable in minutes and then requires only consistent attention, not additional skill development:
- Start with a bright, high-contrast target: a distant streetlight during daytime setup, or a bright star at night — neither a planet nor a Moon section, which can appear to be in focus before they truly are because extended objects tolerate defocus better than point sources
- Use a star’s diffraction rings to confirm perfect focus: a bright star at high magnification, when slightly defocused both inside and outside focus, should show symmetrical concentric rings; at perfect focus it reduces to the smallest possible Airy disk, visually a tiny bright point
- Focus in one direction only: rack the focuser tube inward past focus, then slowly outward until the image snaps sharp; avoiding back-and-forth adjustments eliminates the mechanical backlash that makes focusers feel like they’re never quite settling
- Lock the focuser when satisfied: most Crayford and rack-and-pinion focusers have a locking screw; tighten it gently once focus is set to prevent the weight of the eyepiece from slowly dragging the focuser out of position over a long observing session
- Re-focus after every eyepiece change: different eyepieces have different parfocal positions; even eyepieces from the same brand at different focal lengths rarely maintain focus when swapped without adjustment
Reference Table:
| Task | Skill Level | Time Required | Tool Needed | Common Mistake |
| Initial daytime setup | Beginner | 20–30 minutes | Manual + spirit level | Setting up in darkness first time |
| Finder scope alignment | Beginner | 10–15 minutes | Distant terrestrial target | Aligning at night on a star |
| Polar alignment (rough) | Beginner | 5–10 minutes | Compass + latitude setting | Skipping entirely, affecting tracking |
| Polar alignment (precise) | Intermediate | 20–45 minutes | Drift method or polar scope | Relying on compass alone for imaging |
| Star-hopping to target | Beginner | 5–20 minutes | Star chart + finder scope | Going to high power before locating |
| Perfect focus (stars) | Beginner | 2–5 minutes | Any bright star | Focusing on extended objects only |
| Collimation (Newtonian) | Intermediate | 4–8 minutes | Cheshire or laser collimator | Never checking before sessions |
| Dark adaptation | Beginner | 20–30 minutes | Red light only | Checking phone screen every few minutes |
| GoTo two-star alignment | Beginner | 5–10 minutes | Clear sight of alignment stars | Using misidentified alignment stars |
| Equatorial tracking setup | Intermediate | 15–30 minutes | Polar scope or drift alignment | Poor polar alignment causing image drift |
Using GoTo Computerized Mounts Correctly:
How to use a telescope with computerized GoTo is its own skill set — and the most common reason GoTo systems disappoint is alignment errors that are completely preventable with the right approach.
1: The Two-Star Alignment Method Step by Step
Begin with the mount level and pointing north (or south in the southern hemisphere). Enter your location (latitude/longitude), date, and time precisely — wrong date or a 10-minute time error produces measurable pointing inaccuracy. Select the first alignment star from the handset menu. The mount slews to where it calculates that star should be. Look through the finder scope: is the star visible? If it’s off-center, use the manual directional buttons to center it precisely in the main eyepiece at the lowest available power, then confirm. Repeat for the second alignment star. The system is now aligned.
2: Identifying Alignment Stars Without Confusion
The most common GoTo failure mode: choosing an alignment star from the handset menu, the mount slews, you see a bright star near where the mount pointed, you center it and confirm — but it’s the wrong star. You’ve aligned on Arcturus when the mount was pointing at Spica. Every subsequent GoTo points with a systematic error equal to the angular separation between those two stars. How to use a telescope GoTo system reliably requires knowing a handful of bright stars well enough to confirm their identity by surrounding context — the pattern of nearby dimmer stars, the color, the constellation shape.
How to Use a Telescope for Specific Targets: Moon, Planets, and Deep Sky:
The Moon, planets, and deep-sky objects each demand different techniques, different magnifications, and different levels of dark adaptation. How to use a telescope on each target type follows a distinct protocol — and mixing up protocols (planetary magnification on a galaxy, for example) is the most reliable way to be disappointed with what the sky offers:
- The Moon: use a neutral density or variable polarizing filter to reduce glare at the eyepiece; no dark adaptation required because the Moon is bright enough to view with full pupil; start at 50–80x to survey the terminator (the shadow boundary where topography shows maximum relief), then push to 150–200x on specific craters, rilles, and mountain chains
- Jupiter: observe at 100–200x on nights of steady seeing; the four Galilean moons are visible at 50x; the Great Red Spot transits the central meridian approximately every 10 hours and is most visible at 150x+ in a 6-inch or larger aperture; use a light blue #82A filter to increase belt contrast
- Saturn: the ring system is visible at 30–40x in any telescope; the Cassini Division between rings A and B requires 80–100x in a 4-inch and excellent seeing; tilt of the rings changes over a 15-year cycle, with edge-on presentation (as in 2025) reducing visual impact temporarily
Collimation: Aligning the Optics for Peak Performance:
How to use a telescope reflector at its full optical capability requires understanding collimation — the alignment of the primary and secondary mirrors on a shared optical axis. An uncollimated reflector produces a star test showing asymmetric diffraction rings and a planetary image softer than the aperture should deliver.
Collimation sounds intimidating. It isn’t. The procedure is systematic, the tools are inexpensive, and results are immediately visible. Building the habit of checking collimation at the start of every session takes four minutes and returns disproportionate image quality improvements.
1: The Star Test: Reading What Misalignment Looks Like
Point the telescope at a bright star — Vega, Capella, or any magnitude 1–2 star near the zenith — and defocus slightly on both sides of focus. A correctly collimated telescope shows perfectly concentric, circular diffraction rings on both the inside-focus and outside-focus side. A miscollimated telescope shows rings that are thicker on one side than the other — the central shadow of the secondary mirror is displaced from the center, and the rings appear to bleed in one direction. The direction of thickening indicates which way the primary mirror needs adjustment.
2: Daytime Collimation With a Cheshire Eyepiece
A Cheshire collimation eyepiece costs $20–$30 and does the daytime collimation job better than any laser collimator for beginners because it shows you what’s happening optically rather than relying on a laser dot hitting a target. Cap the front of the telescope, insert the Cheshire, and look through it. You see a series of concentric reflections. Correct collimation means the small secondary mirror reflection, the primary mirror reflection, the crosshairs of the Cheshire, and the primary mirror’s center-mark dot all appear centered within each other simultaneously.
3: Adjusting the Primary Mirror With Three Screws
Primary mirror alignment uses three screws (sometimes paired with three locking screws) on the primary mirror cell at the rear of the telescope tube. Loosening a locking screw and tightening the corresponding push/pull adjustment screw tilts the primary mirror in that direction. How to use a telescope collimation procedure: make small adjustments, re-check the Cheshire view, repeat. Over-adjusting is the most common error — each screw turn moves the mirror more than it looks like it should from the eyepiece view.
Planetary Observing Techniques That Maximize Detail:
How to use a telescope on planets effectively requires more than pointing and looking. Experienced planetary observers use specific techniques that extract the maximum detail the aperture can deliver on a given night.
The seeing evaluation habit is the cornerstone of how to use a telescope for planets without wasting an hour at useless magnification: before pushing high on Jupiter, defocus a nearby bright star and watch the diffraction rings for 30 seconds. On excellent seeing nights (Antoniadi I–II), the rings sit nearly motionless and 200x+ is productive. On poor nights (Antoniadi IV–V), the rings boil continuously — cap the eyepiece at 100x, enjoy the view for what it is, and plan for a better night. Fighting poor seeing at high magnification is the number one time-waster in planetary observing.
Sketching at the eyepiece sounds archaic but improves observation quality measurably — it is also one of the clearest illustrations of how to use a telescope as an active scientific tool rather than a passive viewing device. The act of drawing forces you to look more carefully and for longer than passive observation does. Spend 10 minutes sketching Jupiter’s cloud structure from what you can actually see — not what photographs show — and you will notice features that casual viewing skips entirely. How to use a telescope for serious planetary work includes developing the habit of recording what you see in a consistent format.
Building Long-Term Skills: From First Light to Fluent Observer:
How to use a telescope is a skill that compounds. The first session teaches setup and basic focusing. The tenth session teaches star-hopping. The fiftieth session teaches reading seeing conditions and maximizing high-magnification planetary detail. The path is clear, and every session adds a layer.
Three habits accelerate progression faster than any equipment upgrade. First: keep an observing log. Date, time, location, sky conditions, targets observed, magnifications used, impressions and sketches. Reviewing logs from six months ago reveals patterns — which targets reward which magnifications, which nights in your location produce the steadiest seeing, which seasons favor which planets. How to use a telescope intelligently includes knowing which nights to take the instrument outside in the first place.
Second: learn the seasonal sky systematically, one constellation at a time. Orion in winter. Leo in spring. Scorpius in summer. Pegasus in fall. Each constellation contains at least one showpiece object suitable for the telescope you own. How to use a telescope on familiar targets becomes automatic, freeing attention for fainter, more challenging objects that share the same star field.
Third: join a local astronomy club or attend a public star party. How to use a telescope improves dramatically from watching others work — seeing how an experienced observer handles an equatorial mount, listening to them describe seeing conditions, watching them move from target to target with quiet efficiency. Astronomy clubs are universally welcoming. They exist, in large part, to share the knowledge of how to use a telescope that doesn’t come with the instrument.
The sky available to any telescope — even the modest 70mm refractor that started this article’s personal experience section — contains more than a lifetime of worthwhile objects. Anyone who commits to learning how to use a telescope with the same seriousness they bring to other technical skills will never run out of new things to find, study, or simply admire. Approximately 110 Messier objects. Several hundred NGC catalog showpieces. Dozens of double stars resolvable in 60mm aperture. The full phase cycle of Venus. Jupiter’s moons rearrange themselves nightly. Saturn’s ring tilt evolved over decades. How to use a telescope is a question whose answer deepens every single clear night you spend outside with the instrument in your hands.
FAQ’s:
Q1: How to use a telescope for the first time without a guide?
Start with the Moon at lowest power in daylight and work outward — it teaches focusing, tracking, and magnification simultaneously.
Q2: How to use a telescope finder scope when the image is upside down?
Mentally invert your star chart or print a mirror-reversed version; practice matching patterns at low stakes before targeting faint objects.
Q3: How to use a telescope on a GoTo mount when it keeps missing targets?
Re-do the alignment using confirmed, correctly-identified stars, verify your location coordinates and time are accurate to the minute.
Q4: How to use a telescope without ruining dark adaptation?
Use only dim red-light flashlights, keep phone screens off, and allow 20–30 full minutes of darkness before expecting to see faint objects.
Q5: How to use a telescope to see the most detail on planets?
Observe at opposition when planets are closest, wait for excellent atmospheric seeing, and use 150–250x with a well-collimated mirror or APO refractor.
Conclusion:
Knowing how to use a telescope correctly — daytime setup, low-power starting, precise focusing, dark adaptation, and regular collimation — transforms any instrument into a reliable window on the universe. Start with the Moon, learn star-hopping, master GoTo alignment if applicable, and keep an observing log. Consistency beats equipment upgrades every time.